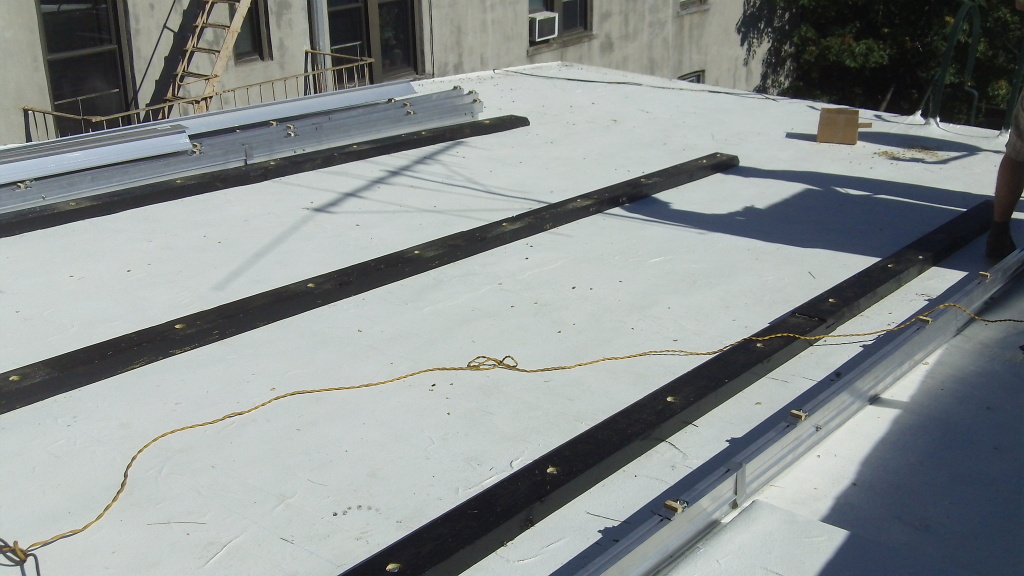
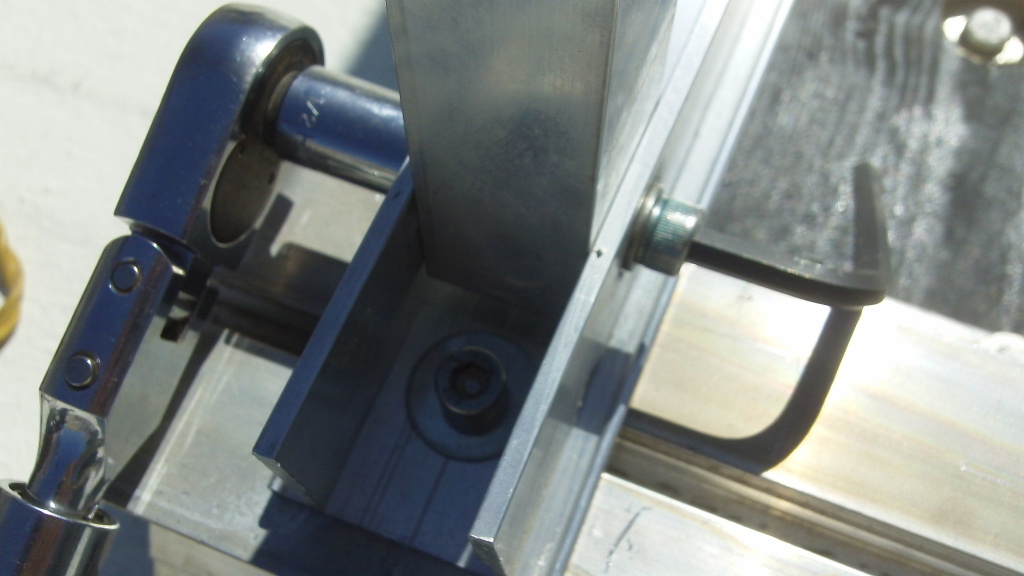
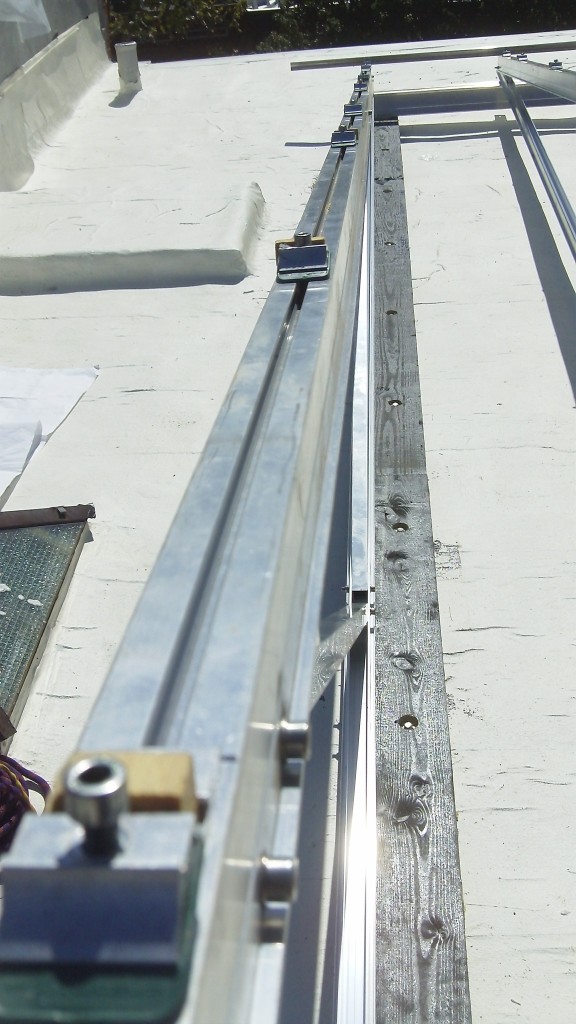
For residential applications everyone knows that a 10 pitch metal seam room is as easy as you get can for residential solar, followed by high quality asphalt shingles.
Unfortunately, there are a lot of places in the country, specifically in cities, where these roofing conditions simply don’t exist. New York City is no different. First, we don’t really have any pitched roofs for residential applications. The existing roofs tends flat and are not able to hold much structural load. Typically, we span two structural parapet walls with steel or structural aluminum and then attach the modules to that structure. As you can image, it’s pricing! How some roofs can support a small load but I’ve never seen a residential roof that can support a ballasted system.
A few weeks ago, I completed a job in NYC where where the roof could support a small load and I wanted to share some of the pictures with you for inspiration, in case you’re running into a similar situation.
Make sure you do a great site visit before selling the job! This will ensure that you get all of the information to you know how, and how much it’s going to cost to install the system. Performing high quality and efficient site visits is absolutely critical to the success of profitable solar projects, especially residential projects! You need to be able to capture all of the information you need to 1) quote the system correctly 2) design the project and 3) inform the installation crew what to expect. An efficient site visit process will lead to smooth operations and profitable jobs while complex process can lead to unprofitable jobs and a lot of confusion.
Click here to check out Sunify. Sunify is a simple mobile tool that solar sales people use to make sure they collect all the information they need on a site visit with the least possible effort. It’s so cheap it will pay for itself in one site visit. Sunify does 4 things that will make your site visits better.
- It will eliminate paper notes so you no longer have to copy and paste notes into emails and waste time.
- It will ensure that you, or the sales people that you manage, capture the information that they need to on the first visit.
- You’ll collect better quality information because you can collect video and audio notes in addition to photos and text answers. This will give lead to more accurate quotes, design, and an easier time for the installation team.
- It’s all the tools you need in one place, so you’ll never loose your notes again.
Click here to check out Sunify.
The first item was to installed ‘sleepers’ (I’m not sure the technical term), into the existing rafters. The pressure treated wood beams were also coated with a black material that bonds directly to the roof when fastened together to form a water time connection. Personally, I would have gone with aluminum sleepers so you’d never have to worry about rot. Installing the sleeps took a 3 man crew 1 day.
We used Schletter racking which comes pre-engineered, and fastens very easily to the sleeps and to each other.
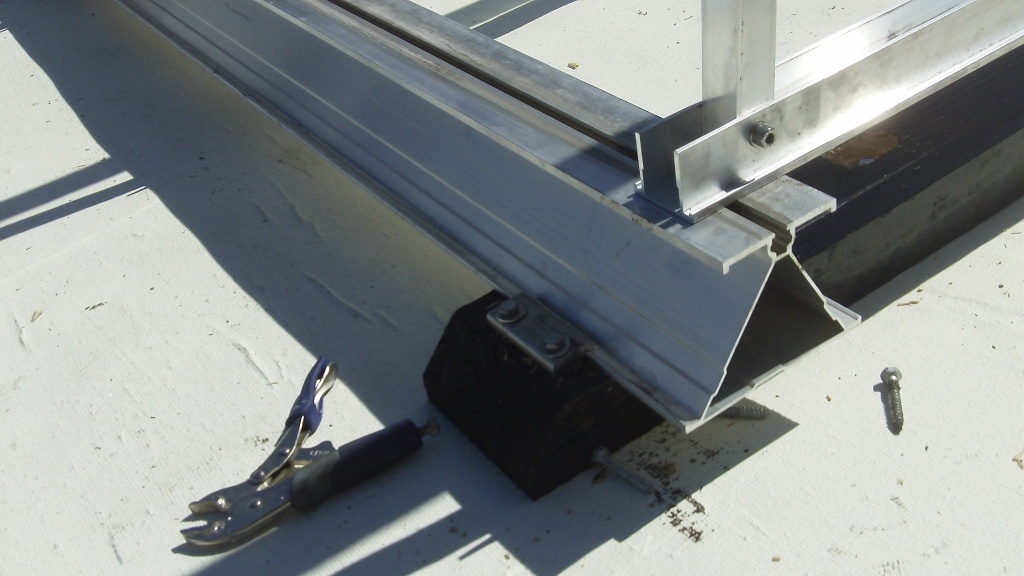
The materials to put together the rack are very simple. A 5/8 inch driver and an 8mm allen wrench is all you need.
The system comes with the railing connection already on it.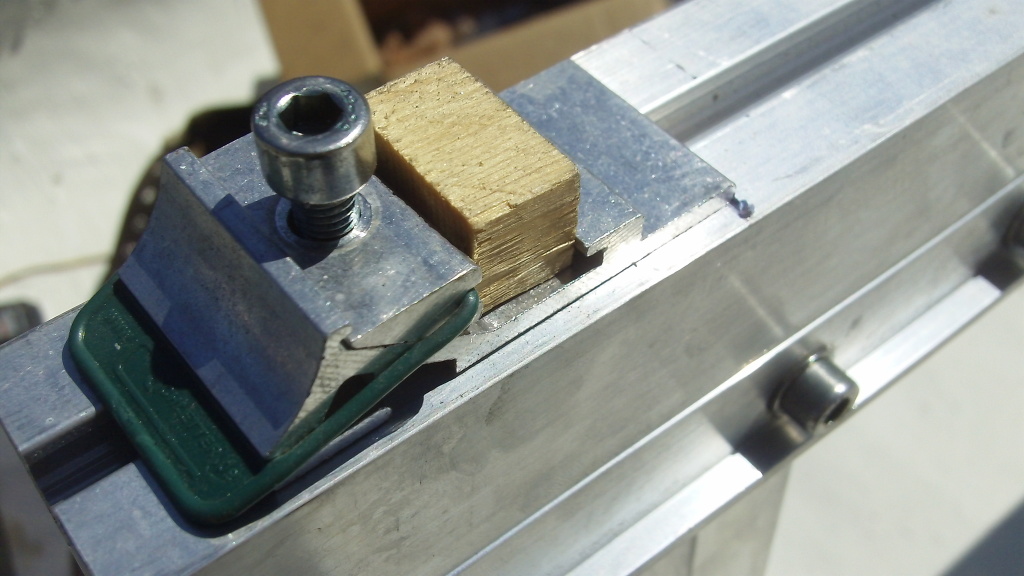
All the connections for the racking are pre-measured, so all you have to do is loosen them and then connect the racking that the modules connect to that you can see at the bottom of the photos.
What’s amazing about the system is that when you’re done with the racking, you have a almost perfect square and flat plane (something you’d never get on a pitched roof!) so installing modules because super simple. 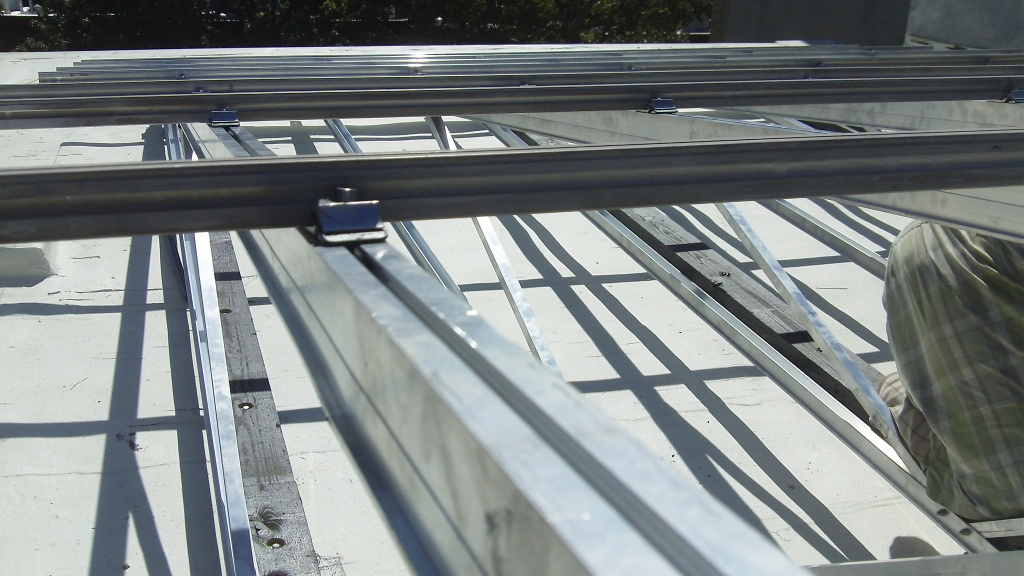 In total, it took a 3 man crew 1 day to install the sleepers, a 2 man crew one day to install the racking and a 2 man crew 1/2 day to install the AC modules. Because we were using AC modules the electrical went very quickly because all we needed to install was a breaker, conduit, some disconnects and labeling, a 2 man crew about 1 to 1.5 days to complete all the electrical work.
More Resources for solar lovers…
- Solar PV Residential and Commercial Commissioning Checklist
- 65 Page Solar PV Design and Installation 101 Guide
- Solar PV Finance 101
- Sunify mobile solar site visit tool will ensure you collect all the information you need to quote a job, without wasting time with paper notes.

